Intro
Every woodworker should build two workbenches, in my opinion, the first to get skills and identify mistakes and the second one for life. This is my fist one :)
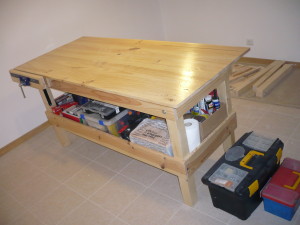
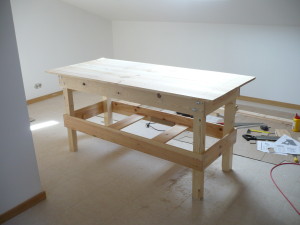
| This is how I make my workbench.The workbench top is 180cm x 80cm x 87cm heigth.The shelf is 160cm x 60cm . |
|---|
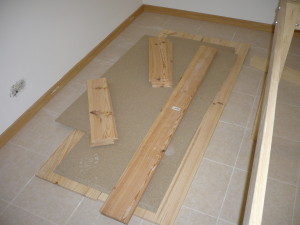
| Nothing like have a nice project to start.You can get the Google tSkechUp project here |
|---|
Stuff you should know before starting :)
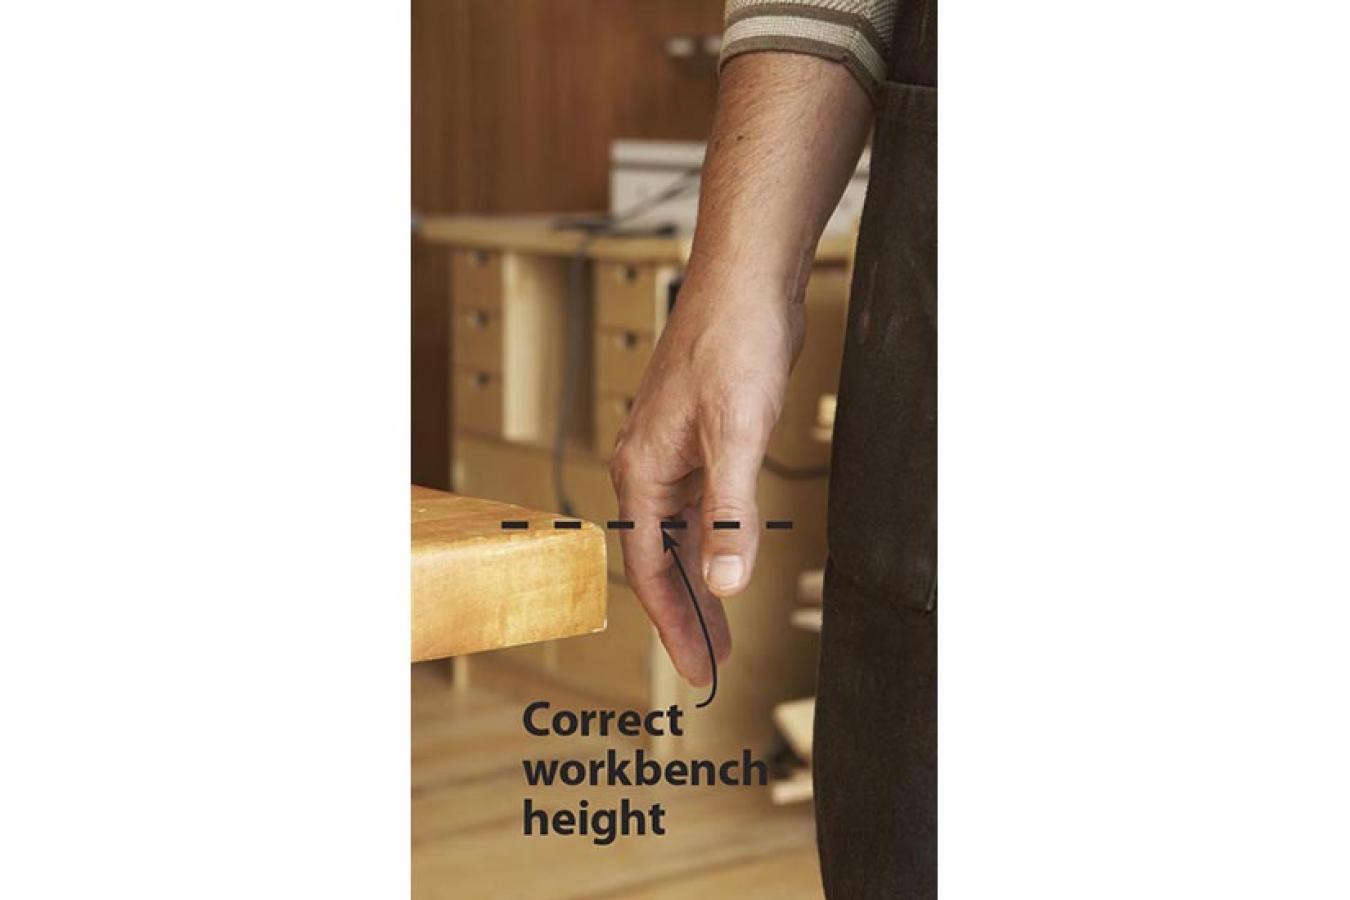
| How to Calculate the workbench heigth | |
|---|---|
| Rules for Workbenches from Popularwoodworking |
The Making of
| Qtd | Description | length | width | height | U.Price€ | Price€ |
|---|---|---|---|---|---|---|
| 3 | Ripa | 2600 | 140 | 18 | 9.49 | 28.47 |
| 2 | Ripa | 2600 | 150 | 22 | 9.99 | 19.98 |
| 1 | Placa Aglomerado | 2440 | 1220 | 10 | 12.99 | 12.99 |
| 2 | Placa Pinho | 2000 | 500 | 18 | 10.99 | 21.98 |
| 2 | Ripa Casquinha tosca | 2400 | 63 | 72 | 11.89 | 23.78 |
| 1 | Placa contraplacado | 600 | 300 | 15 | 4.49 | 4.49 |
| 1 | Ripa casquinha aplainada | 900 | 44 | 44 | 9.79 | 9.79 |
| - | - | - | - | - | Total | 121.48 |
| Qtd | Description | U.Price€ | Price€ |
|---|---|---|---|
| 8 | Parafuso aço zincado D8x10 | PKG | 0.35 |
| 8 | Porca Seistavadas aço zincado D8 | PKG | 5.78 |
| 16 | Anilha aço zincado D12 | PKG | 2.59 |
| 1 | Varão Roscadp M8 | 1.75 | 1.75 |
| 4 | Porcas D8 | 0.8 | 0.8 |
| 4 | Anilha D8 | 0.8 | 0.8 |
| 4 | Cantoneira Preta 12x14 | 1.75 | 1.75 |
| 1 | Torno bancada Drapper 150mm | 18.01 | 18.01 |
| 1 | Perfil Chato Aço 1000x350x60 | 9.79 | 9.79 |
| - | - | Total | 41.71 |
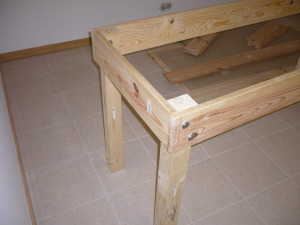
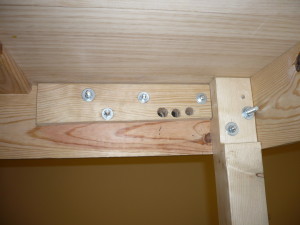
Attach apron the the legs
-
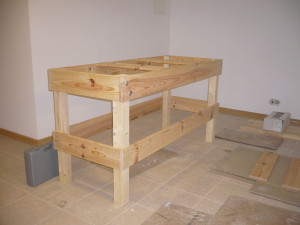
Cut the legs to to final length.
-
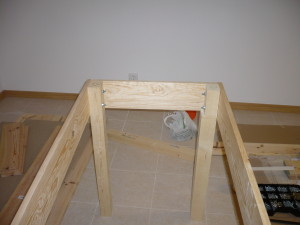
Upside on a flat ground attach, with glue and 2 screws, the 4 legs.
-
If the screw are small, the the legs + apron you can make a recess.
-
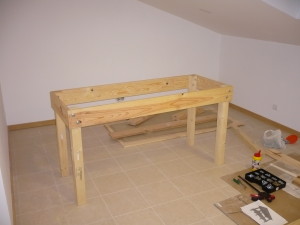
Make the stretcher about 20 cm from the ground.
-
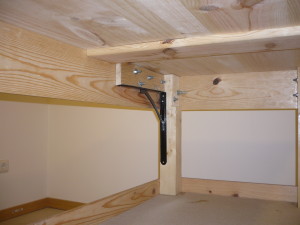
I set the stretcher heigh so I can put power tool box under the shelf.
-
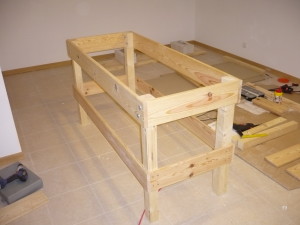
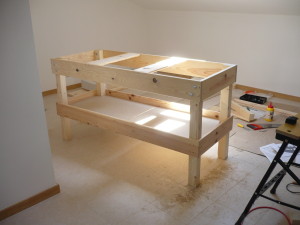
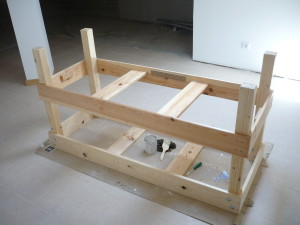
Add 2 boards across the top, and the stretcher shelf, for stability.
-
The shelf is 10mm MDP(Particle board).
-
At this time I apply water base varnish, because is easy before set the top.
-
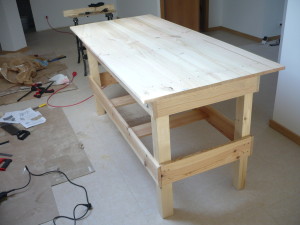
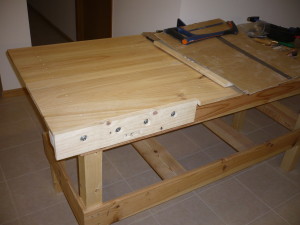
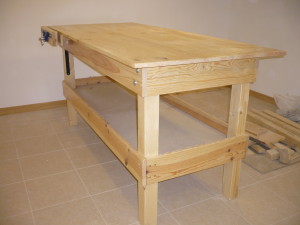
My top is made by 2 pine boards 1800x400x22 mm glued together making the top 1800x800x22 mm and screwed to the apron.
-
Apply same water base varnish to the top.
-
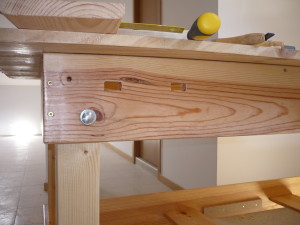
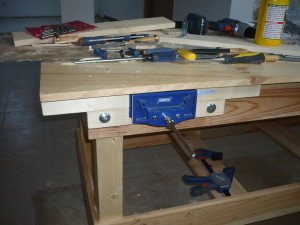
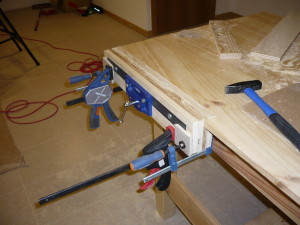
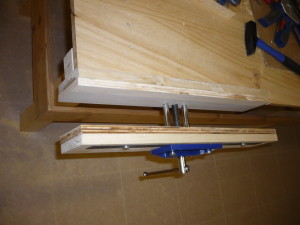
Open 2 holes for the Drapper 150mm vice as close to the leg I can
-
Open 3 more holes for the vice guides and rod
-
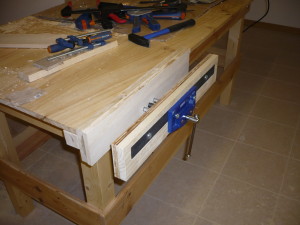
On the front I add 44×44 mm spruce block, so the vice is flush with the top.
-
And add some replaceable wood jaw in the vice.
-
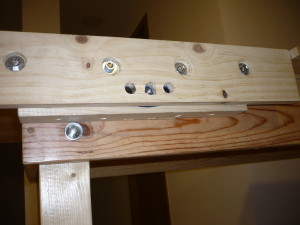
For more stability I add a 90º french cleat on the inside.
-
Add the other replaceable wood jaw to the vice.
-
My vice has only 150mm and I want a bigger one so I add a 450 mm steel bar in the outside of the vice.
-
An now I have a Vice. ( In the ends it do not hold very much, this is one of the things that I change if I could.
-
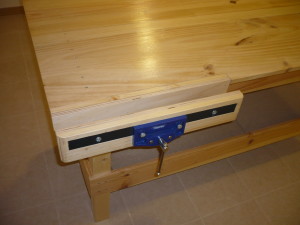
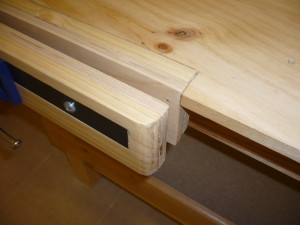
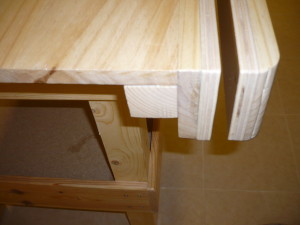
Add a effect in the ends with router.
-
“Et voilá” my workbench vice.
-
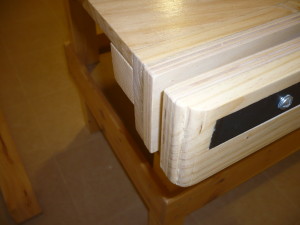
In this photo you can see the detail in the end of the right side of vice.
-
In this photo you can see the detail in the end of the left side of vice.
-
n this photo you can see the detail of the vice and left workbench side.
-
Apply a water base varnish to the top and the work is finish.
-
After 3 cotes of the water base varnish.
-
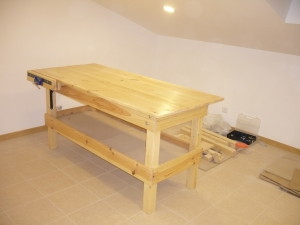
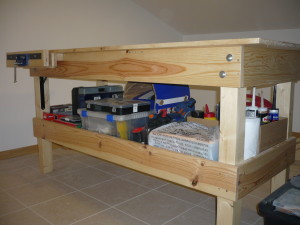
Add some tools and shop stuff.
-
FINISH

